Beginner’s Guide to Epoxy Projects: Tips from the Pros
Epoxy resin has taken the world of woodworking by storm, offering endless possibilities for crafting stunning tables, countertops, charcuterie boards, and unique décor pieces. At Vinogradofff in Barrie, Ontario, we’ve spent years mastering the art of epoxy and wood, and we’re passionate about sharing our insights with both beginners and seasoned woodworkers alike. If you’re ready to dive into the world of epoxy, this guide will help you start your journey with confidence.
What is Epoxy and Why It’s Popular
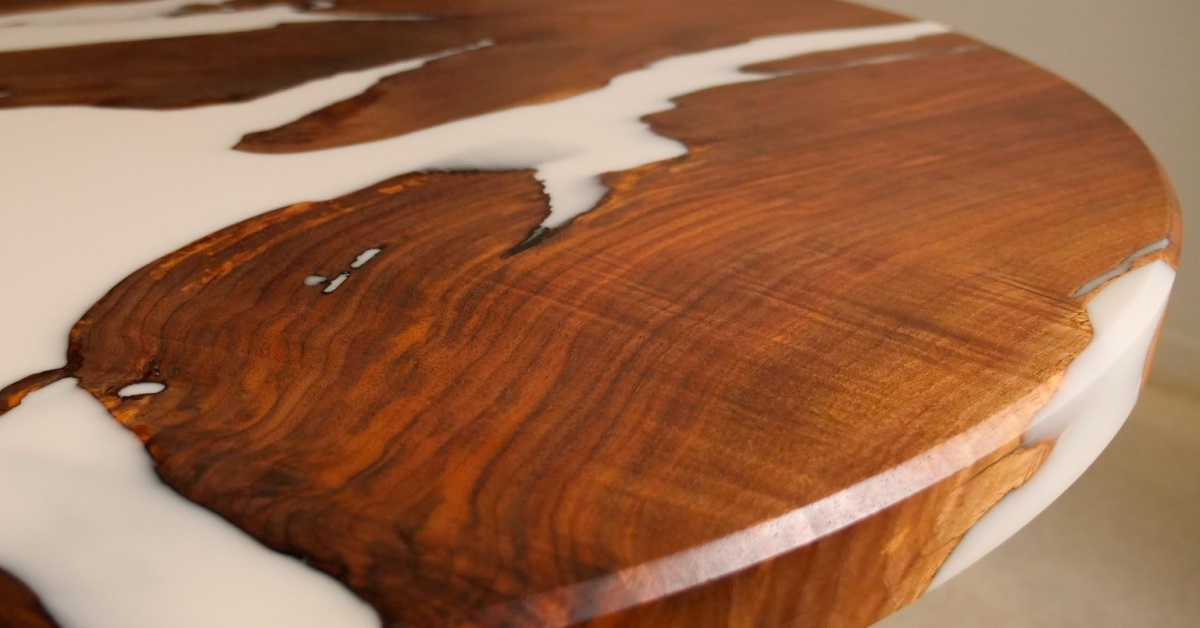
Epoxy resin is a two-part liquid that hardens into a clear, glossy finish when mixed correctly. Its versatility allows it to be combined with wood, pigments, and other materials to create eye-catching, durable pieces. Unlike traditional finishes, epoxy not only protects wood but can also transform it into a vibrant, glass-like surface that highlights the natural beauty of the grain.
Many beginners are drawn to epoxy for its artistic potential. Whether you’re experimenting with color pigments, embedding objects, or creating “river tables,” the possibilities are limited only by your imagination. Plus, epoxy’s durability makes it perfect for high-use surfaces, giving your creations both beauty and longevity.
Choosing the Right Materials
Before starting your first epoxy project, it’s essential to gather the right materials:
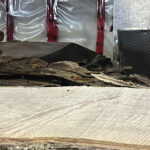
- Wood Selection: Hardwoods like maple, oak, or walnut are excellent for epoxy projects. Live edge slabs are especially popular, offering a natural flow that complements the resin.
- Epoxy Resin: Look for a high-quality, clear casting resin that’s designed for furniture projects. Avoid low-cost alternatives that may yellow over time or bubble excessively.
- Pigments and Dyes: Add a splash of color to your resin using powders, alcohol inks, or liquid pigments. Experimenting with colors is part of the fun, but always test small batches first.
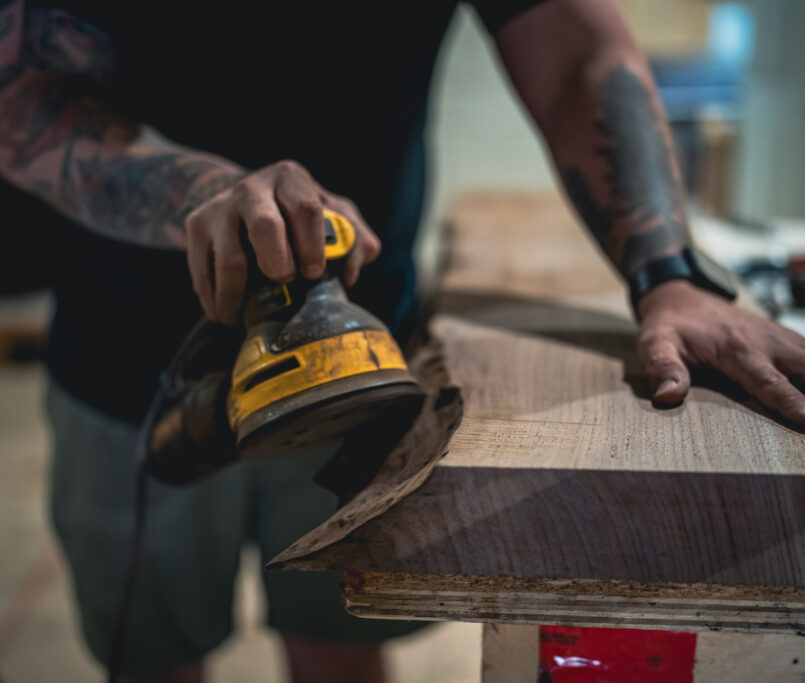
- Tools: You’ll need gloves, mixing containers, a heat gun or torch to remove bubbles, sandpaper for finishing, and a level surface to pour on. Patience and preparation are key.
At Vinogradofff, we ensure every project starts with quality materials because the foundation determines the final result. Our Wood Market provides access to premium slabs and supplies, giving beginners and pros alike the tools to succeed.
Step-by-Step Tips for Beginners
- Prepare Your Workspace: Epoxy is sticky and messy, so cover your work area with plastic sheets or newspapers. Ensure proper ventilation to reduce fumes.
- Seal the Wood: Before pouring epoxy, seal the wood surface with a thin layer of resin to prevent bubbles from forming during the main pour.
- Measure and Mix Accurately: Epoxy requires precise mixing of resin and hardener. Follow manufacturer instructions to the letter, incorrect ratios can lead to soft or sticky surfaces.
- Pour Slowly: Pour your resin gradually to avoid trapping air bubbles. Use a heat gun or torch lightly over the surface to pop any bubbles that appear.
- Experiment with Color: If you’re adding pigments, mix them thoroughly and test on a small scrap piece first. Layering colors can create beautiful depth and effects.
- Cure Properly: Allow epoxy to cure fully, usually 24–72 hours depending on the product and thickness. Avoid touching the surface until it’s fully hardened.
- Finish and Sand: Once cured, sand your piece starting with coarse grit and progressing to fine grit for a smooth, glossy finish. Polishing or applying a final resin coat can enhance shine and protection.
Common Beginner Mistakes and How to Avoid Them
Even with careful preparation, beginners may run into a few hurdles. Here are tips from our pros:
- Bubbles: Caused by trapped air or pouring too quickly. Use a heat gun and seal the wood first.
- Sticky Surfaces: Often due to incorrect mixing ratios. Double-check measurements before mixing.
- Yellowing Resin: Exposure to UV light can cause yellowing. Choose UV-resistant epoxy or keep pieces out of direct sunlight.
- Uneven Surfaces: Always pour on a level surface and use clamps or barriers to contain the resin.
Learning from the Pros
At Vinogradofff, we believe education is just as important as craftsmanship. Our training programs in Barrie cater to all skill levels, helping beginners master epoxy techniques while learning essential woodworking skills. Hands-on guidance, professional tips, and access to high-quality materials set our students up for success and inspire confidence to tackle even more ambitious projects.
Final Thoughts
Starting your epoxy journey can feel intimidating, but with patience, preparation, and the right guidance, it becomes an incredibly rewarding experience. From small charcuterie boards to statement river tables, each project offers an opportunity to blend creativity with functionality.
Remember, every piece is unique, imperfections are part of the charm and learning process. Embrace experimentation, take your time, and enjoy the artistry that comes with working with epoxy and wood. At Vinogradofff, we’re proud to support beginners in transforming their ideas into beautiful, lasting creations.